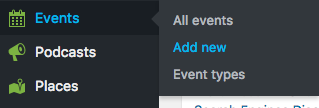
- Click Events
- Click Add New
- Enter a title and description
- Choose a date using the datepicker. Date format must be YYYY-MM-DD (Year month date)
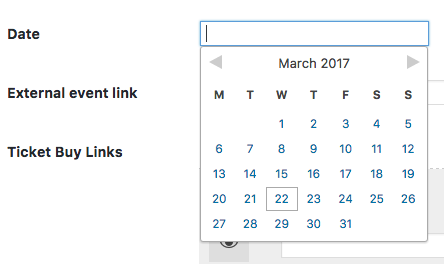
The event countdown appears for future events and is hidden for past events.
- Insert an address and any other details
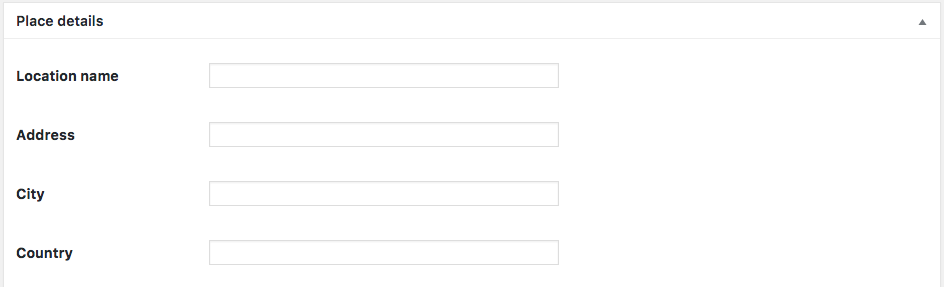
- If you want to show a google map for the event, insert the location of the event and click “Geolocate Address”

- Add a website URL for the event
- Add a location name, like “NY Conference Hall”
- Add a contact phone number
- Add a external event link
- Add as many links to buy the ticket as you want
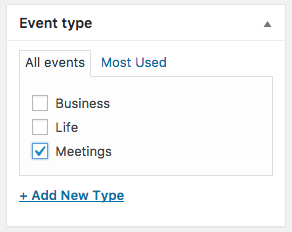
- Select one or more event types, they are like categories, but for events. You can also create archives for specific event types.
- Click “Publish” or “Update”
Creating the events archive:
- Go to pages->Add New

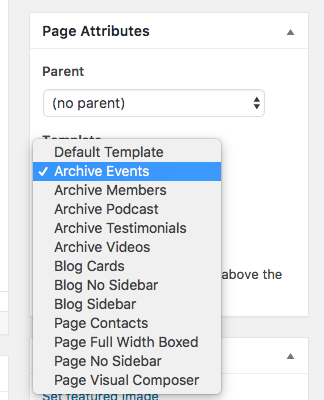
- Select the Archive Events template
- In Appearance->Menus link to the page you just created (optional)
Important!
You can hide or show the events depending on the event date. To change this option go to
Appearance->Customize->Events.
Creating an event map:
- Be sure to have the QT Places plugin installed and active
- Be sure that you are not hiding past events in case that you want to show them
- Add the shortcode [qtplaces posttype=”event”].
- See the QtPlaces documentation for more infos
- You can also use the QtPlaces shortcode generator in your page editor
- Check the page Settings -> QT Places for more infos
- Don’t use the Google Maps API unless necessary and unless you know how to properly generate it (check Google’s documentation about this. Only needed for sites > 20K visitors a day)